If you have a UPS dedicated to your Ubuntu workstation, Ubuntu “Power Management” can meet your requirements. See details in this post.
If you have an APC UPS, another option is to use apcupsd, which is a more advanced tool to manage your APC UPS.
UPS protects the computer from (usually instantaneous, but often dangerous) surge of electricity, just connecting computer with the UPS (usually with USB connection). apcupsd is an Open Source software with excellent documentation which additionally can
You may use command line interface or Web interface or graphical interface (gapcmon) to monitor your UPS.
The model of the APC UPS used in this tutorial is “APC Back UPS BR1500GI RS 1500VA (LI)”.
Open a terminal and type
sudo apt-get install apcupsd
(For information on how to install software without using command line, see this post).
After installation, directory /etc/apcupsd contains:
/etc/apcupsd/apccontrol -killpower)
after the shutdown of the system (if there is the file
/etc/apcupsd/powerfail, which is then deleted)If you want this email functionality, you have to install a message transfer agent (MTA). A lightweight option would be exim
sudo apt-get install exim4
Additionally, you have to forward root mail to your email, as apcupsd sends email to sysadmin by default.
See this post for details.
The power supply interruption in USB UPS will be done 60 sec after the shutdown of the computer. Otherwise, you have to make changes in the EEPROM of the UPS (not recommended).
First, create a backup of main configuration file:
sudo cp /etc/apcupsd/apcupsd.conf /etc/apcupsd/apcupsd.conf.bak
Using your favorite text editor (nano in my case):
sudo nano /etc/apcupsd/apcupsd.conf
Find and edit
In most models, the following changes are enough.
## apcupsd.conf v1.1 ##
#
#  for apcupsd release 3.14.12 (29 March 2014) - debian
#
# "apcupsd" POSIX config file

#
# ========= General configuration parameters ============
#
...
UPSCABLE usb
...
UPSTYPE usb
...
#DEVICE /dev/ttyS0

#
# ======== Configuration parameters used during power failures ==========
#

# Note: BATTERYLEVEL, MINUTES, and TIMEOUT work in conjunction, so
# the first that occurs will cause the initation of a shutdown.
...
# If during a power failure, the remaining battery percentage
# (as reported by the UPS) is below or equal to BATTERYLEVEL,
# apcupsd will initiate a system shutdown.
BATTERYLEVEL 30
...
# If during a power failure, the remaining runtime in minutes
# (as calculated internally by the UPS) is below or equal to MINUTES,
# apcupsd, will initiate a system shutdown.
MINUTES 10
Using your favorite text editor (nano in my case):
sudo nano /etc/default/apcupsd
set:
Open a terminal and type:
sudo systemctl restart apcupsd.service
To view apcupsd logs, open a terminal and type:
tail /var/log/apcupsd.events
To get information about your UPS status, use the command:
So, in my workstation (named “athena”) the output is:
APC      : 001,036,0875
DATE     : 2016-12-10 18:08:03 +0200
HOSTNAME : athena
VERSION  : 3.14.12 (29 March 2014) debian
UPSNAME  : athena
CABLE    : USB Cable
DRIVER   : USB UPS Driver
UPSMODE  : Stand Alone
STARTTIME: 2016-12-10 10:12:12 +0200
MODEL    : Back-UPS RS 1500G
STATUS   : ONLINE
LINEV    : 224.0 Volts
LOADPCT  : 10.0 Percent
BCHARGE  : 100.0 Percent
TIMELEFT : 66.7 Minutes
MBATTCHG : 40 Percent
MINTIMEL : 15 Minutes
MAXTIME  : 0 Seconds
SENSE    : Medium
LOTRANS  : 176.0 Volts
HITRANS  : 294.0 Volts
ALARMDEL : No alarm
BATTV    : 27.2 Volts
LASTXFER : Unacceptable line voltage changes
NUMXFERS : 0
TONBATT  : 0 Seconds
CUMONBATT: 0 Seconds
XOFFBATT : N/A
SELFTEST : NO
STATFLAG : 0x05000008
SERIALNO : 3Q1106X37131
BATTDATE : 2012-07-05
NOMINV   : 230 Volts
NOMBATTV : 24.0 Volts
NOMPOWER : 865 Watts
FIRMWARE : 878.L4 .I USB FW:L4
END APC  : 2016-12-10 18:08:05 +0200
apcupsd offers a handy web interface to monitor your UPS. To install it, open a terminal and type
sudo apt-get install apcupsd-cgi
Of course, a web server is needed to use the web interface. For example, to install Apache (if not installed):
sudo apt-get install apache2
To access web interface, point your browser to
http://localhost/cgi-bin/apcupsd/multimon.cgi
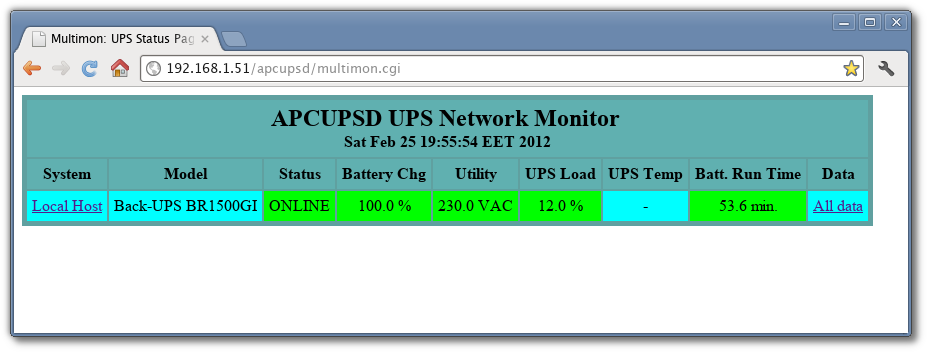
Here is the main page:
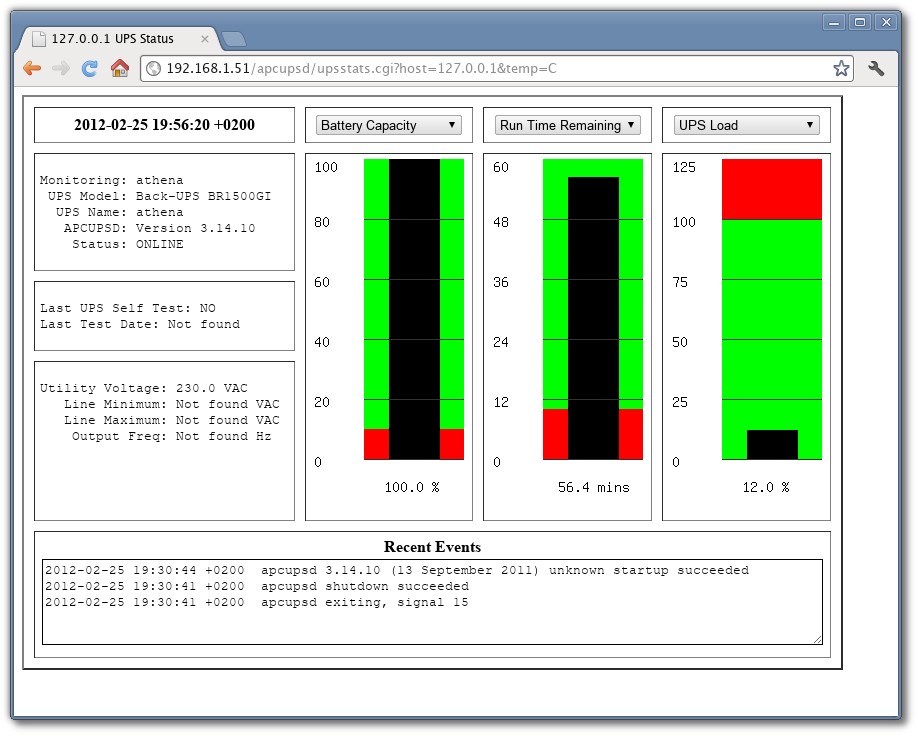
To get details, click the “Local host” link
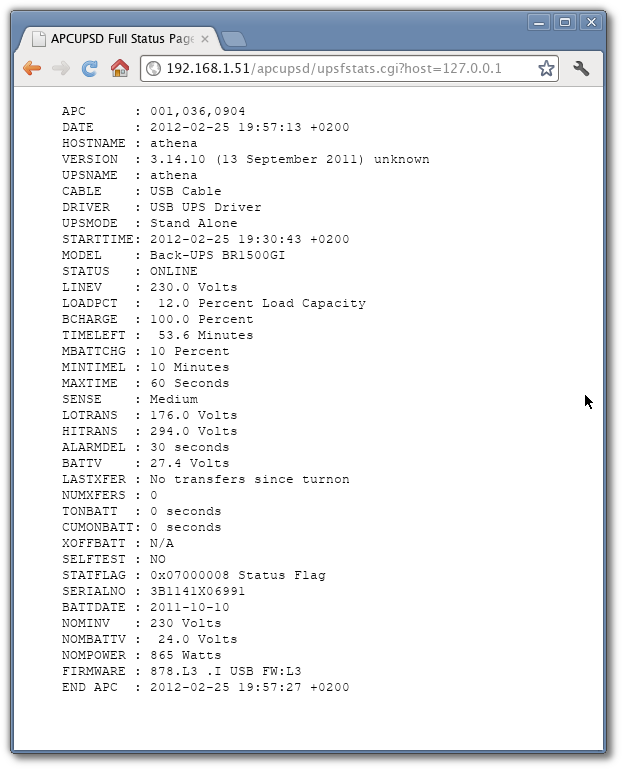
The “All data” link is similar to apcaccess
output
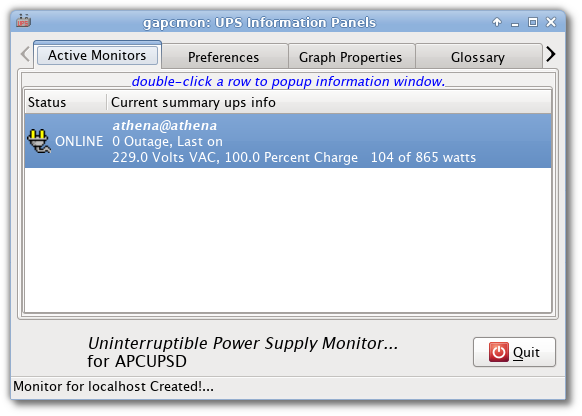
Unfortunately gapcmon is not yet available for latest Ubuntu versions (as Xenial 16.04 etc). See here for details.
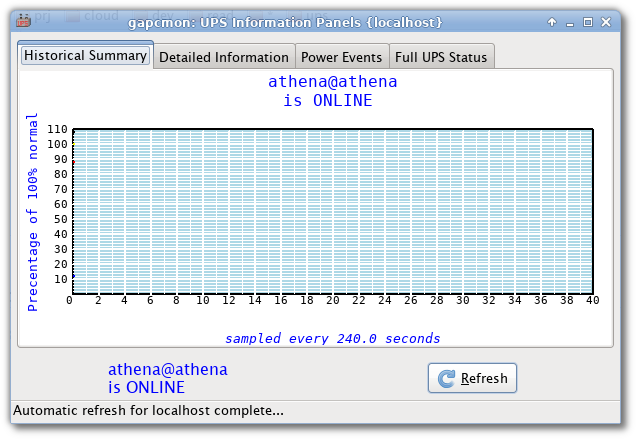
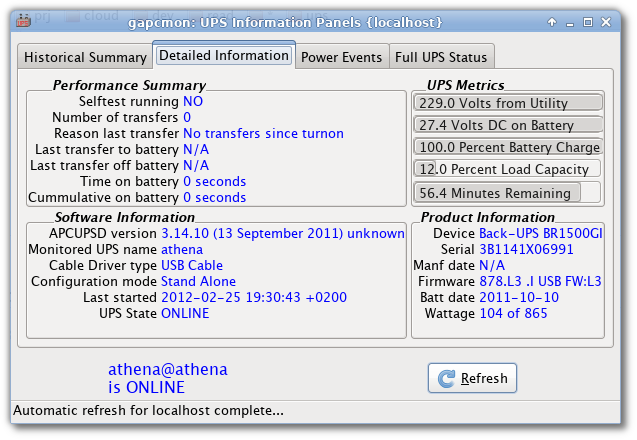
However, this is how the main screen looks like:
The Historical Summary section
The Detailed information section
Modify the TIMEOUT parameter from 0 to 60 to force the computer shutdown after 60 sec from power failure, rather than running on battery until the battery is empty.
sudo nano /etc/apcupsd/apcupsd.conf
Restart apcupsd service:
sudo systemctl restart apcupsd.service
Disconnect power from the UPS. Your computer should be shut down in 60 seconds.
Reset TIMEOUT parameter
sudo nano /etc/apcupsd/apcupsd.conf
Restart apcupsd service:
sudo systemctl restart apcupsd.service